

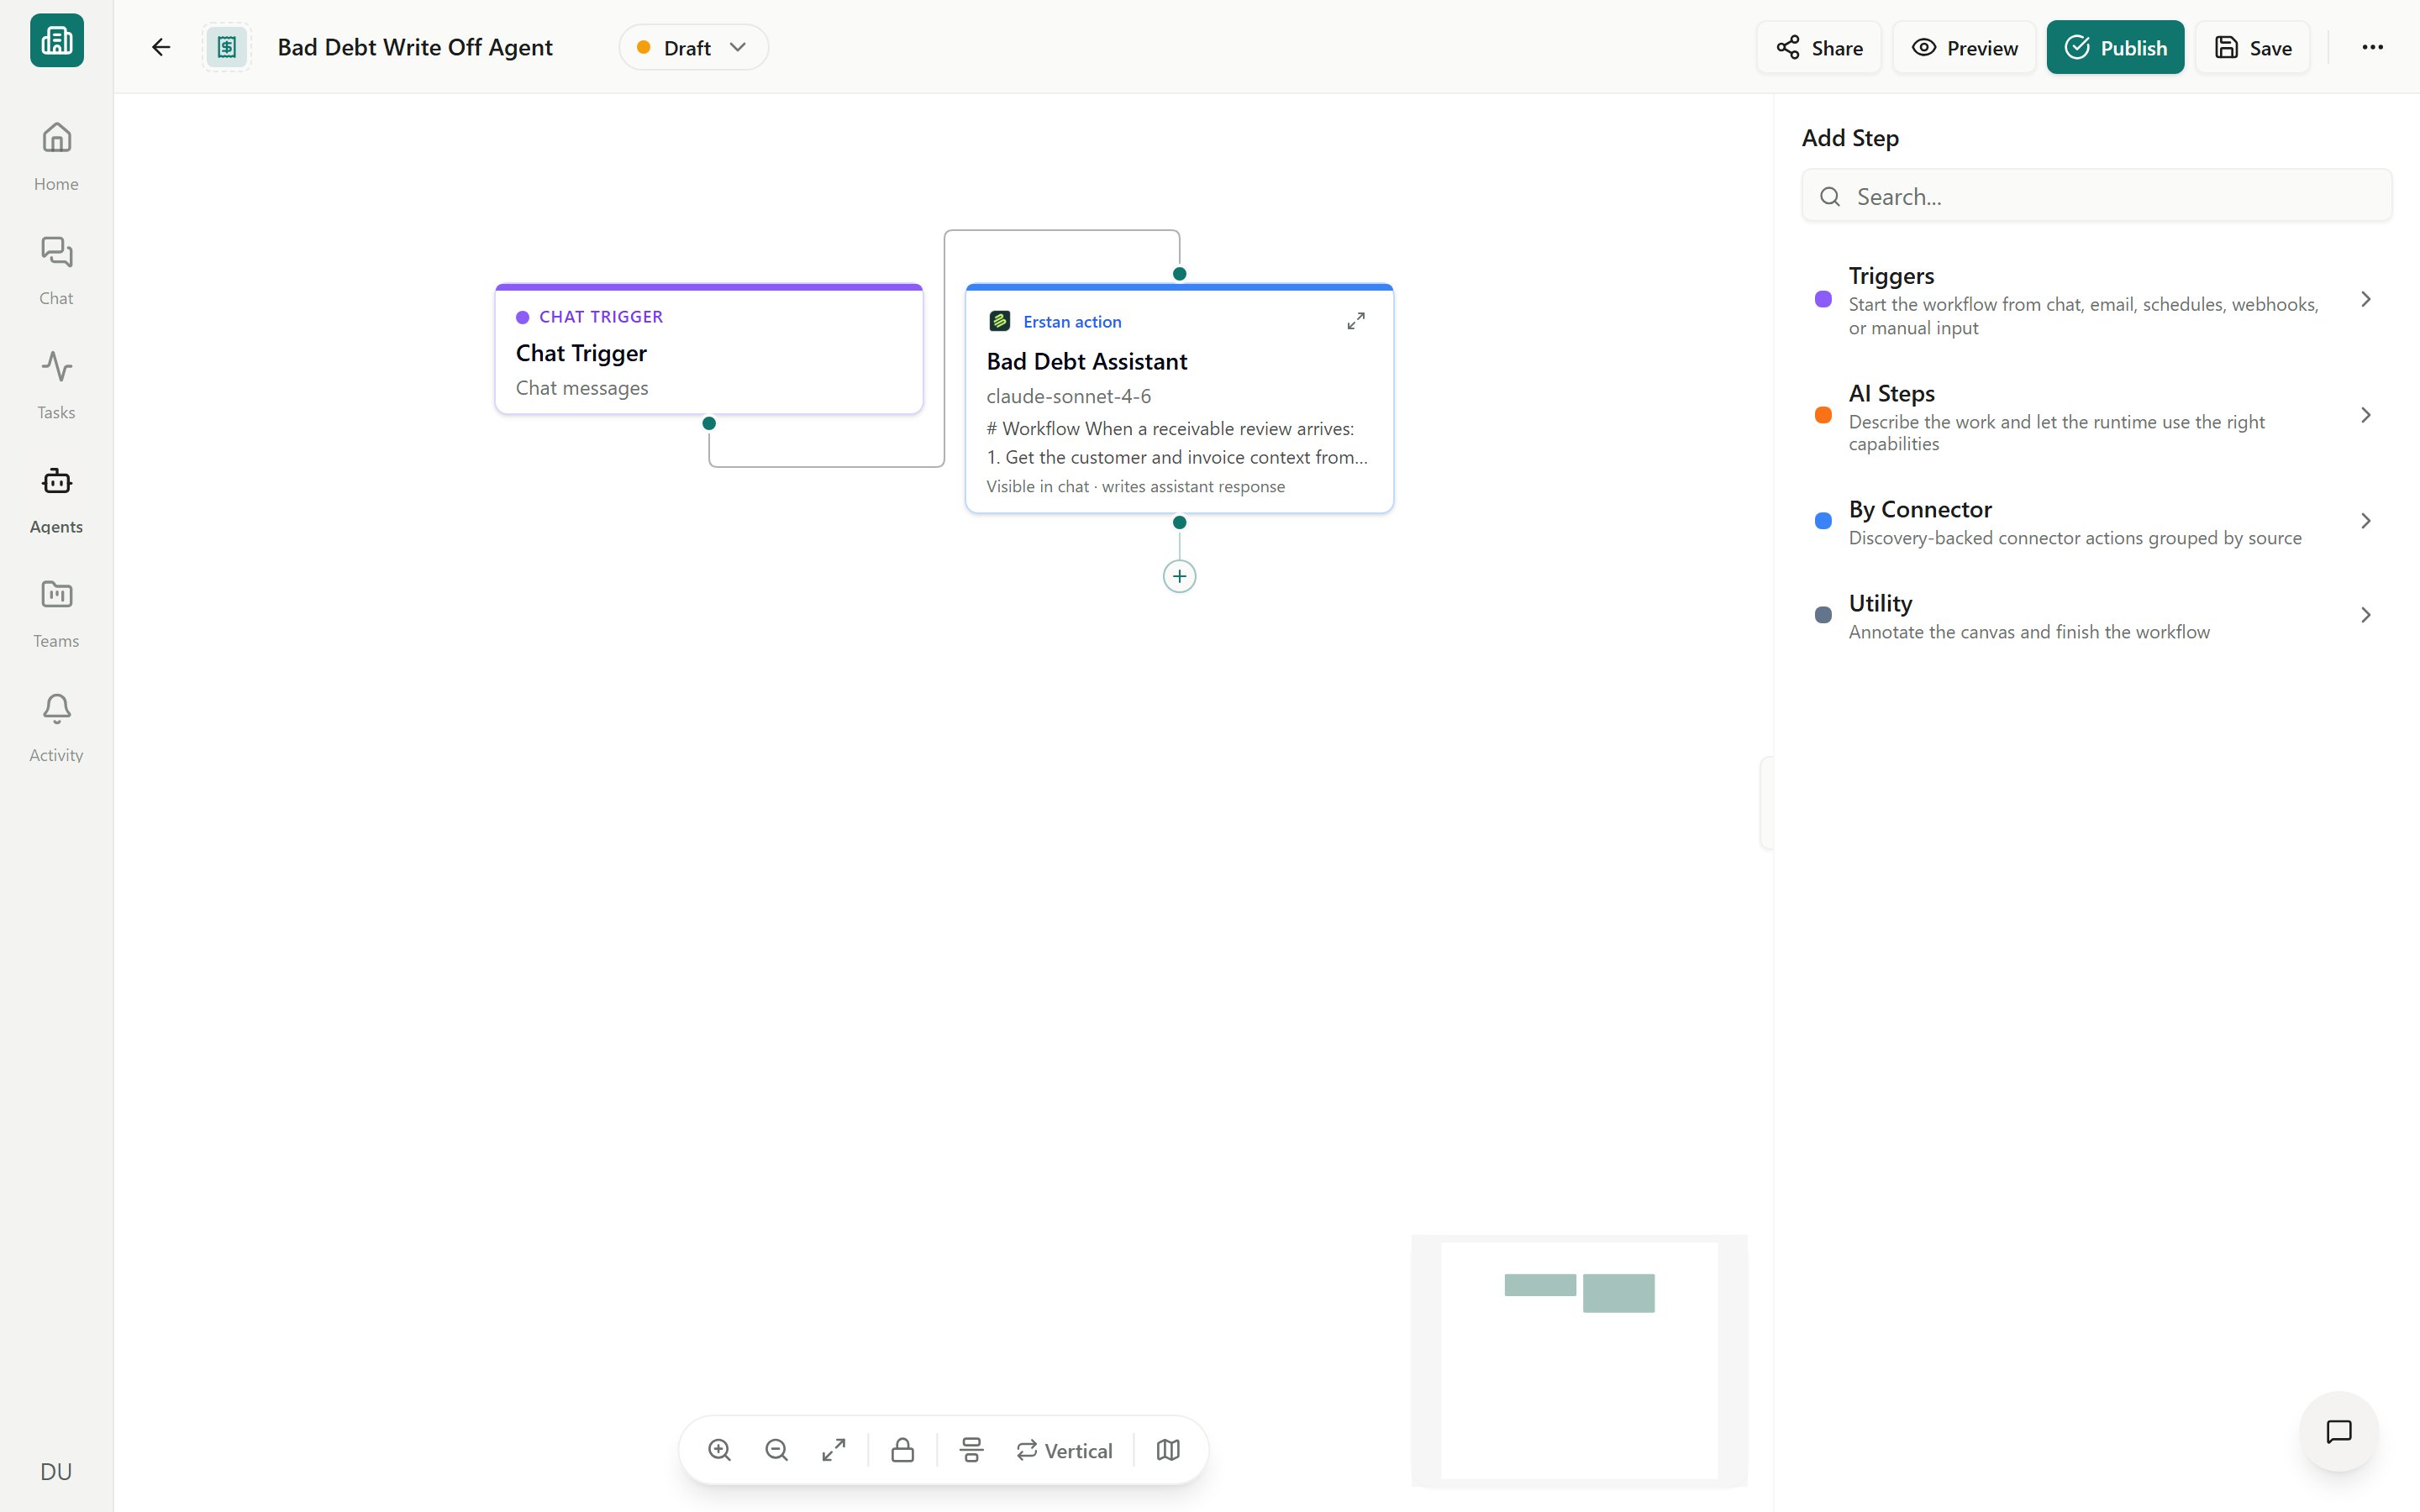
The visual agent builder
Skills vs. tools vs. connectors
These three work together but do different things. Set them on an agent’s steps in the visual builder.Think of a skill as judgment (when and how to do something) and a tool as a capability (the actual action). A good agent usually needs both — a skill that knows your AR collections process, plus NetSuite tools to read invoices and draft outreach.
Adding skills to an agent
Skills give an agent repeatable know-how — your dunning policy, how you categorize vendor bills, the exact SuiteQL pattern your team trusts.1
Open the agent in the builder
From the Agents library, open the agent you want to edit. Select the AI step (for example AI Respond or AI Agent) that should use the skill.
2
Attach the skill
In the inspector, add the skill from your workspace library. Only Published skills (marked Agent ready) appear — a Draft skill is not usable by an agent yet.
3
Save and preview
Save the agent, then Preview a run to confirm the agent follows the skill’s guidance before you publish.
If the skill you want is still a Draft, publish it first. See Publishing, sharing & lifecycle. To build a new one, see Creating and editing skills.
Selecting connector tools
Tools are the actions an agent can actually take. They come from your connectors:- NetSuite — read records, run read-only SuiteQL, and (with approval) create or update records such as invoices, vendor bills, and customer messages.
- Built-in Erstan tools — utility actions that need no setup.
- Other connectors — Slack, MCP servers, and more (see Connectors overview).
Run Code and Write & Run Code
Two built-in Erstan actions run a script as a tool, so a tool-using step can compute without you adding a separate AI Code step. They behave like the AI Code step — same two modes, same sandbox, same limits — and you configure the script on the action itself. The difference is where the input comes from, set on the action’s Input control:- Agent — the model composes the JSON each time it calls the action. Flexible, and the right default when the input depends on what the step just worked out.
- Manual — you map the input yourself. Erstan fills it in from the run before the action starts, so the model never has to write the data out.
The “Connection required” banner
A step can only run if its connector is connected and authorized. If something is missing, the agent shows an amber Connection required banner, and the run is blocked until you resolve it.The connector isn't set up
The connector isn't set up
An owner or admin sets up the shared workspace connection once. Open Connectors and connect the system the step needs.
The trigger needs a Run As identity
The trigger needs a Run As identity
Scheduled and form-triggered agents run under a specific user. If that identity isn’t configured or consented, the builder flags Trigger setup and publishing is blocked. See Preview, publish & versions.
Write-capable tools need approval
Reading data is safe. Writing to NetSuite — creating or updating records — changes your books, so Erstan gates it. Every NetSuite tool has a write policy an owner or admin sets on the connector’s Tools tab:Why Code actions don’t ask for approval
Run Code and Write & Run Code are classified read-only and run without an approval pause, even though Write & Run Code executes a script the AI just wrote. That is deliberate: the sandbox has no connectors, credentials, internet access, or way to change anything outside the run, so the script can only compute over the input it was handed. The write is the step that comes after. Put the AI Approval step in front of the Action that saves the result, not in front of the code that produced it.Next steps
The visual builder
Add steps, attach skills and tools, and resolve connection warnings.
Step reference
Every step type, including By Connector actions and AI Approval.
Managing NetSuite tools
Set write policy (Allow / Require approval / Deny) per tool.
Security & write safety
How per-user authorization and approvals keep your data safe.