

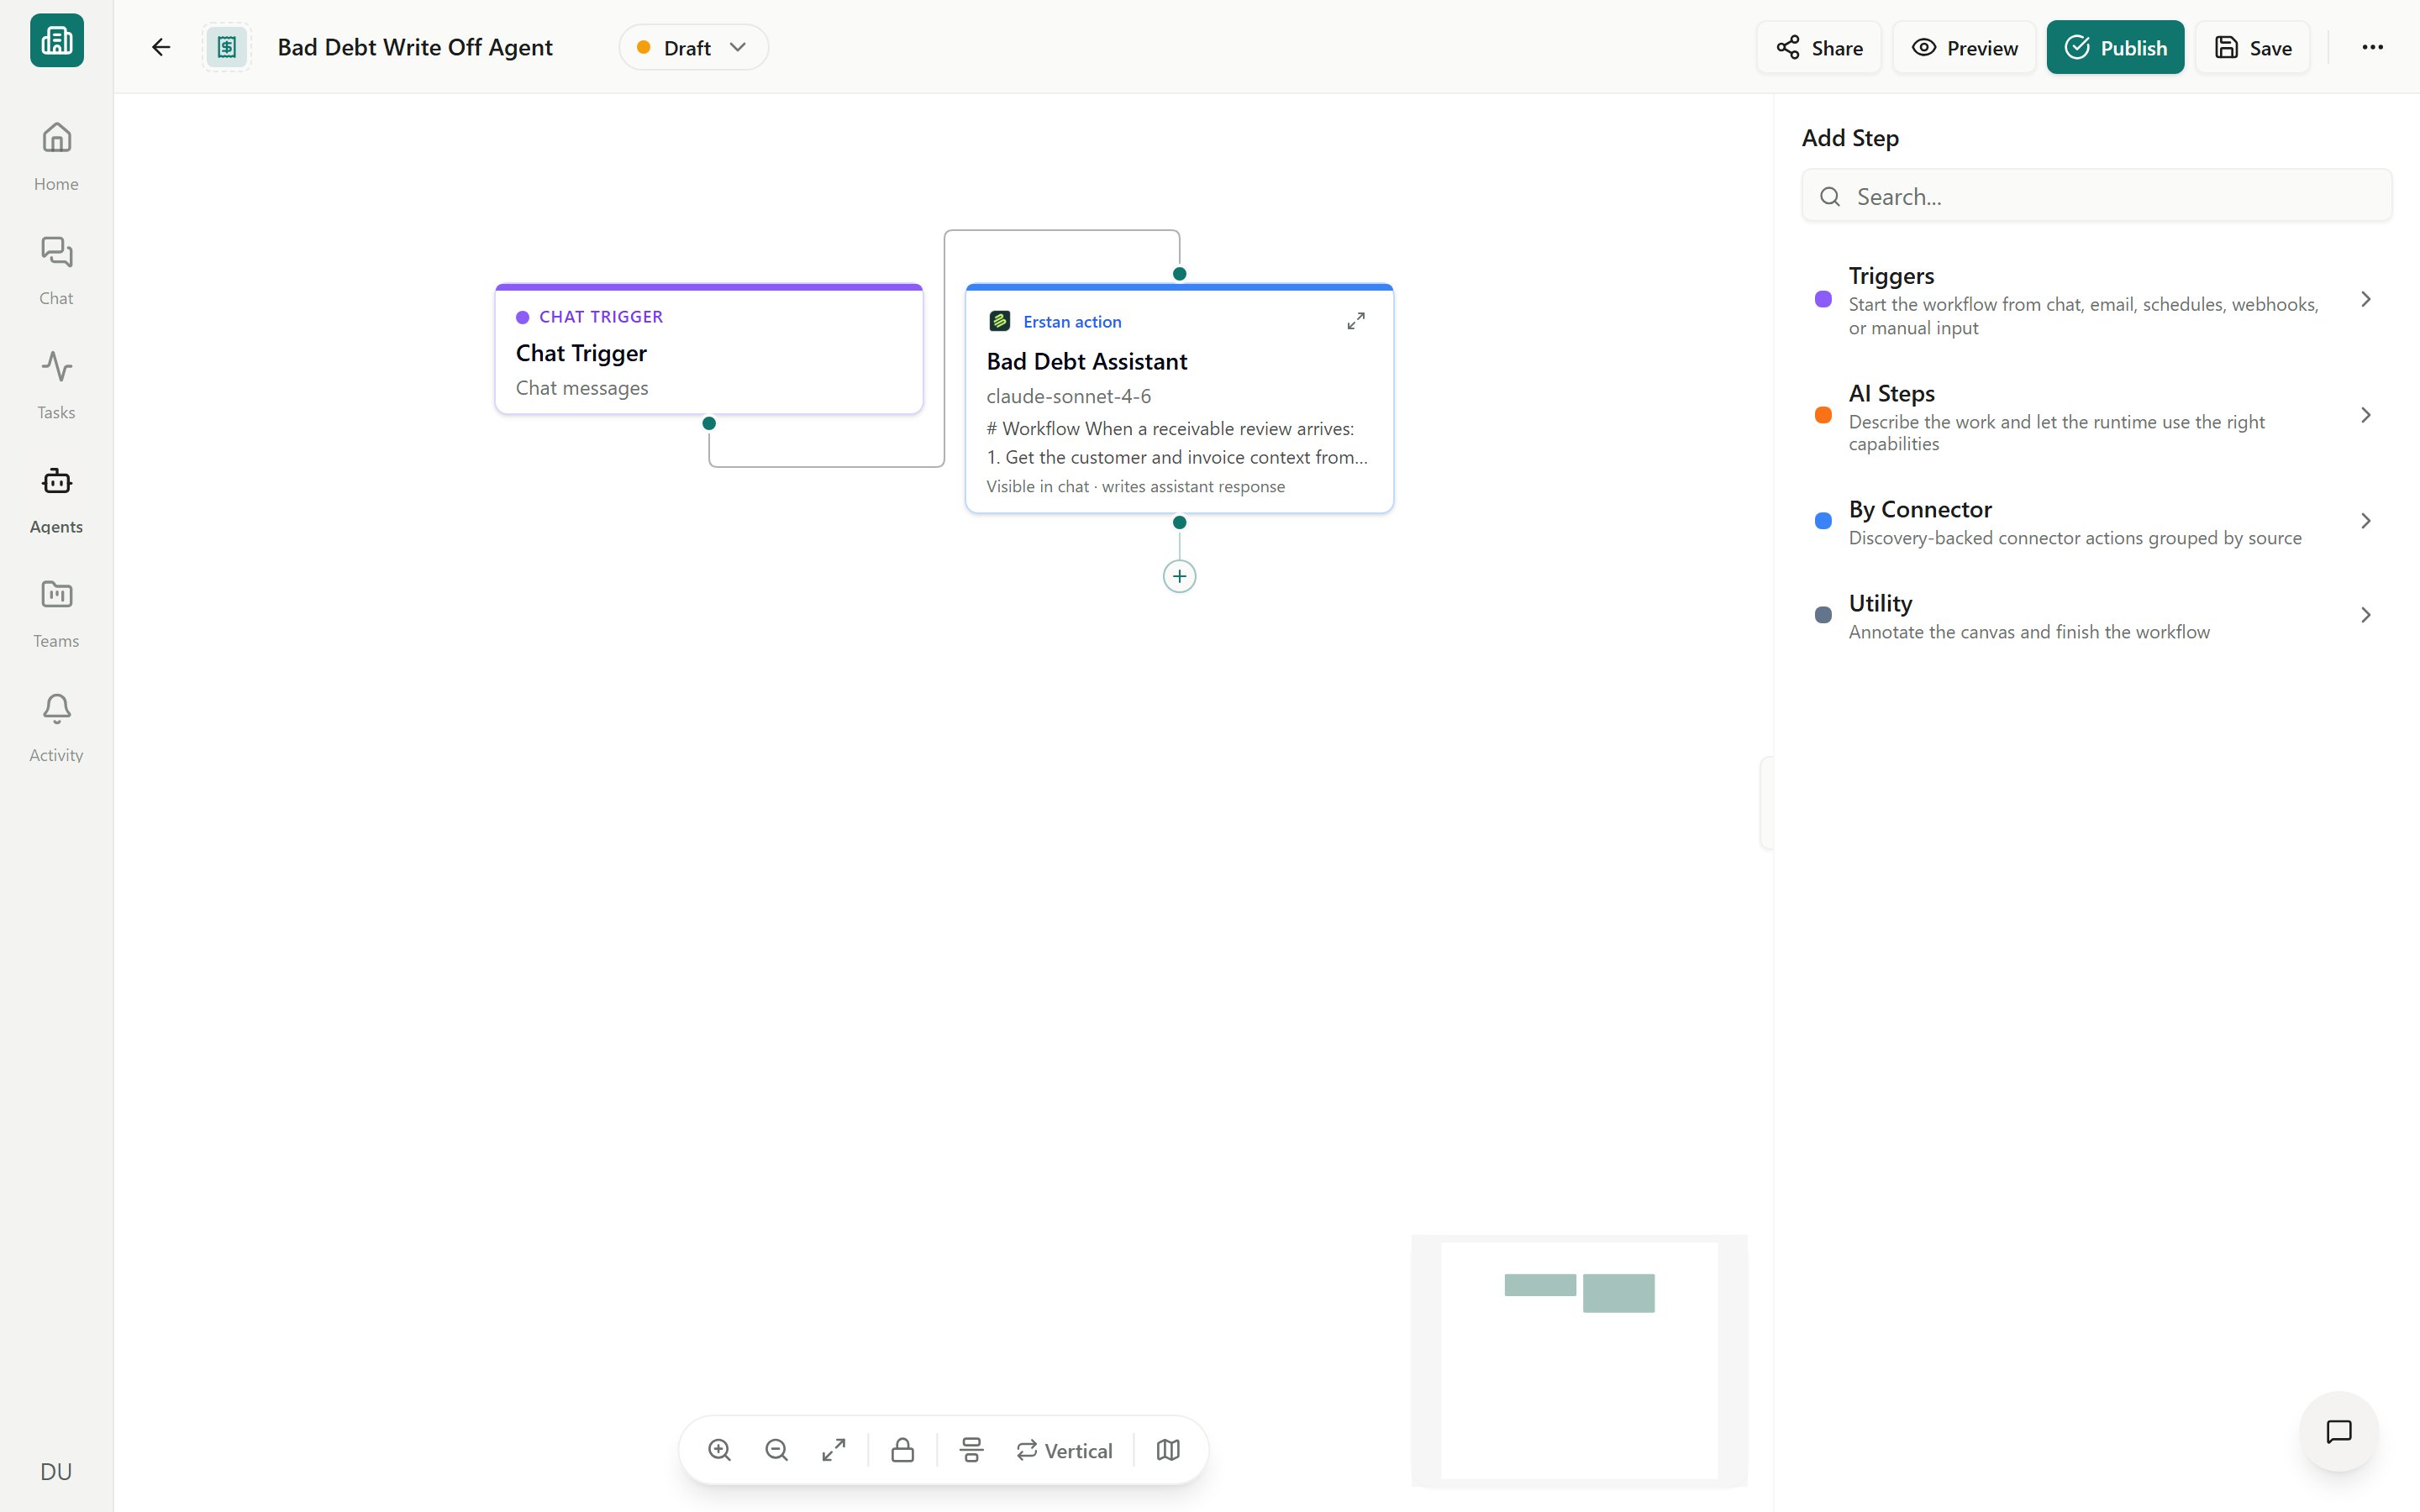
The visual agent builder
Trigger types
An Agent can have several triggers, with at most one Chat Trigger. Use Add trigger to choose another way to start it, then select its entry in Inputs to edit settings. A Chat Trigger supports a chat agent (an Assistant or Workforce), while Form Input and Schedule triggers also support pipeline-style Automations.In the agent library, the Trigger filter labels these as Chat message, Form submission, Scheduled event, Webhook, Email, and Manual so you can find agents by how they start.
Chat trigger
The default for an Assistant Agent or Workforce Agent. The agent listens for your messages and replies, planning and calling tools as needed. A Chat trigger always makes the agent interactive — you stay in the conversation and approve any writes to NetSuite. See Chatting with agents.Start this Agent from Slack
Open Triggers → Add trigger → Slack Trigger to assign the Erstan app to a channel or connect an app dedicated to this Agent. Setup and settings appear in the same pane as other triggers. A custom app can respond in its invited channels and in direct messages. It uses the Agent’s saved Chat trigger. See Custom Slack apps for setup, ownership, and thread controls.Form trigger
A Form Input trigger turns an agent into an Automation that runs from a small form. You define the fields someone fills in (for example, a customer ID and an aging threshold), and each submission starts one run with those values. Good for repeatable requests that anyone on the team can kick off without writing a prompt.Schedule trigger
A Schedule trigger runs the agent on a recurring cadence — minutes, hourly, daily, weekly, or monthly. Schedules live in the agent’s Schedules section on its run history page, where you can add, pause, resume, and edit them. In the visual builder, selecting a schedule trigger node shows its status with a Pause schedule / Resume schedule control, so you can pause one schedule while others on the same agent keep running; a paused node shows Paused on the canvas. Remove an agent-owned schedule trigger in the visual builder; recurring task schedules can also be run immediately or deleted. See Scheduling agent runs for the full setup.Webhook and email triggers
These open the agent to inbound automation from outside Erstan — covered in detail below.Team Inbox events
An Inbox Event subscribes an Agent to messages received by a selected Team. Enable email in the Team’s settings to obtain its address; its Inbox uses the Team’s name. Select the Team in the Agent event, then configure and authorize its Run As identity. Each subscription produces ordinary Agent runs with the same history and approval controls as other triggers. Apps store any business status in their own Databases. An installable App can offer this as an optional source during package setup. Choosing the source creates the binding, while activation remains explicit. Replacing it requires fresh Run As authorization. An App such as AP Automation continues to support invoice uploads without a connected Inbox. Additional installable Inbox Events are Team-only. Personal email already starts Erstan directly; dedicated Agent email starts its addressed Agent. Both remain readable with the Inbox tools and Data Sources, subject to current access, without adding another subscription.Run As: which identity an automated run uses
When an agent runs by itself — on a schedule, from a form, a webhook, or an email — there is no person clicking buttons. Run As decides which NetSuite user identity the run acts under, so that any reads and writes use a real, authorized account. Because NetSuite uses per-user authorization, the chosen user must have authorized their own NetSuite access and consented to let the agent run on their behalf. The builder surfaces the current state on the trigger:1
Open the trigger
In the builder, select the trigger node and open Trigger setup.
2
Choose the Run As identity
Pick the user the automated run should act as. For NetSuite work this should be a user with the right role and permissions.
3
Capture consent
If prompted with Needs consent, have that user authorize the agent to run under their identity.
4
Publish
Once Run As reads Configured, you can publish. Publishing is blocked until it is set.
Chat agents don’t need Run As — they run as the person chatting. Run As matters only for triggers that fire without a live user (form, schedule, webhook, email).
Webhook & email triggers for inbound automation
Webhook and email triggers let other systems — or a forwarded email — start an Erstan agent. Both produce an Automation and run under the trigger’s Run As identity.- Webhook
- Email
A Webhook trigger gives the agent a URL that an external system can call to start a run, passing data in the request. Use it to wire Erstan into another app’s events — a new order, an approval in another tool, a nightly export. Configure the endpoint in the builder’s Trigger setup, and call it from your system. For request formats, authentication, and starting runs programmatically, see the Developer API.
Inbound triggers are most useful with an Automation that has clear steps and approval gates. Test with Preview in the builder before pointing real traffic at the trigger.
FAQs
Can I change an agent's trigger later?
Can I change an agent's trigger later?
Why is Publish blocked on my Automation?
Why is Publish blocked on my Automation?
A triggered agent must have its Run As set to Configured (and consented if required) before it can be published. Open the trigger’s Trigger setup, choose an identity, and resolve any consent prompt.
What happens if a run needs NetSuite but it isn't connected?
What happens if a run needs NetSuite but it isn't connected?
The run is blocked with a Connection required banner until the NetSuite connection and per-user authorization are in place. See connector troubleshooting.
Next steps
Build an agent
Add triggers and steps on the visual canvas.
Schedule recurring runs
Set up daily, weekly, or monthly automations.
Run agents via the API
Start runs from webhooks and external systems.
Publish & lifecycle
Move an agent from Draft to Live.