

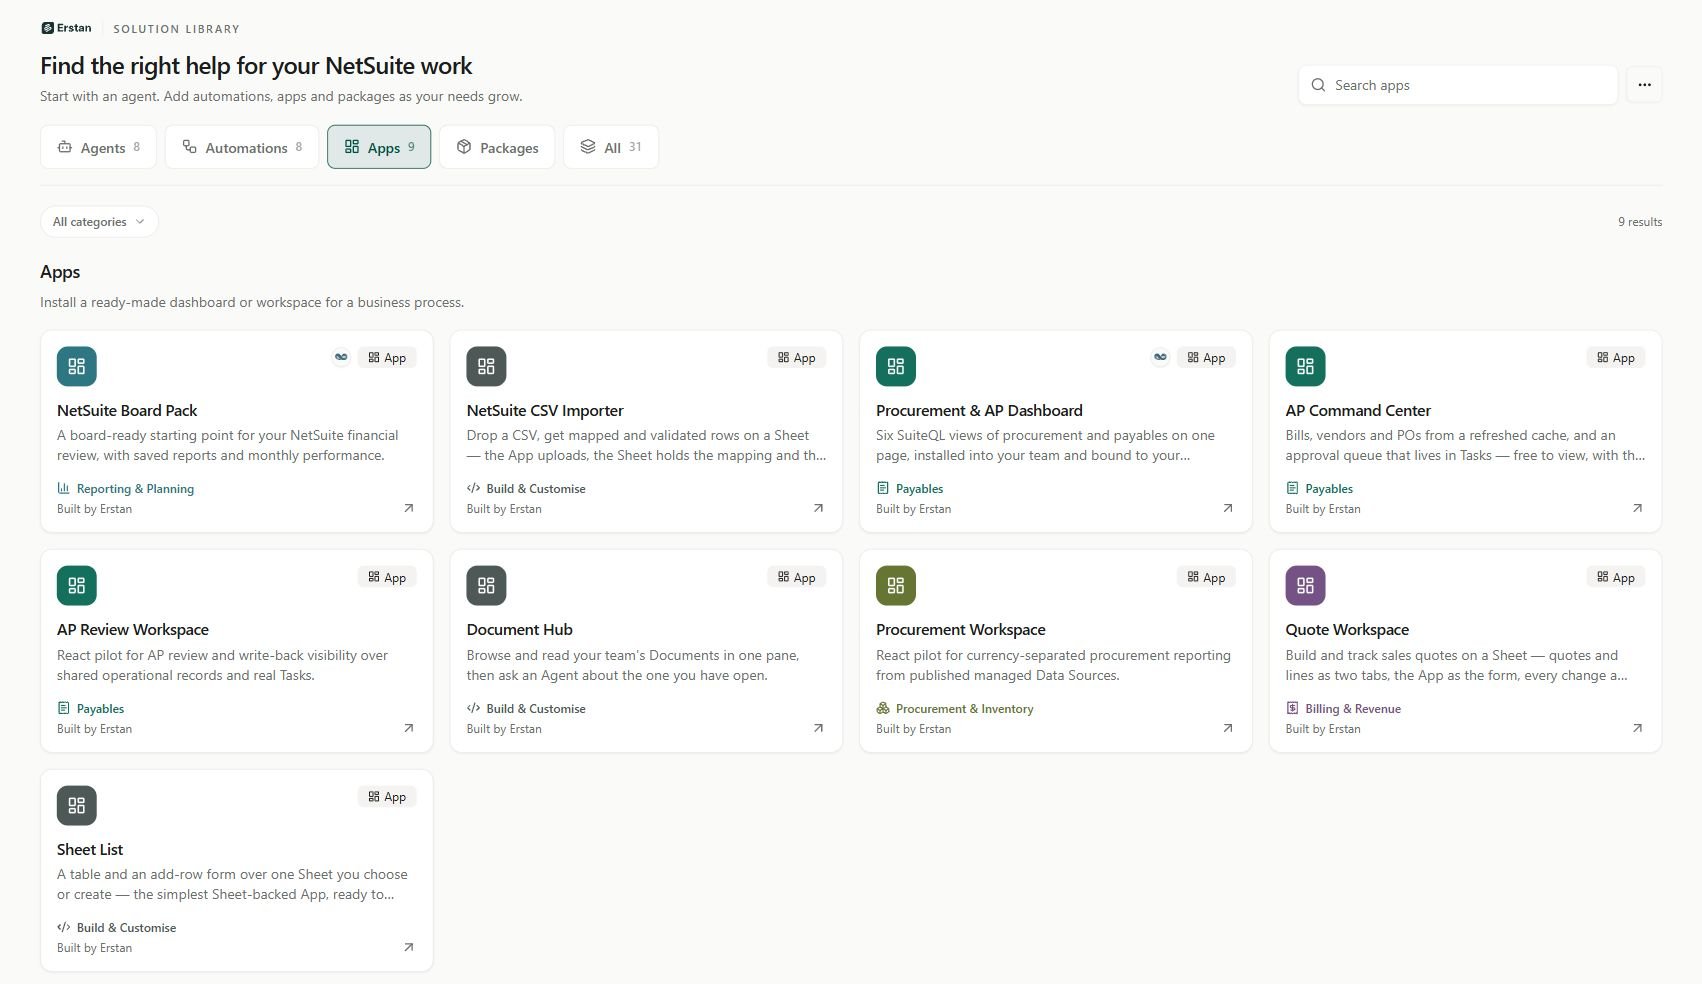
The Apps catalog in the Solution Library. Availability can vary by workspace.
Find an App
Open Library in the sidebar and choose Apps. Use Search apps and Category to narrow the list. All searches across the Library’s types; an empty Apps result does not mean that no Agents or automations are available. Open a card to see its purpose, version, intended users, connectors, and data requirements. The App catalog describes the available templates, including NetSuite Board Pack, Procurement & AP Dashboard, Document Hub, Quote Workspace, and Sheet List.Review and install
1
Choose a destination
On the App’s detail page, review Bindings, choose the destination under Install into, and check the App name. You need permission to create content there.
2
Choose the resources
Complete the choices requested by the template. For example, select a published Data Source, choose a team for a Task queue, or select an existing Sheet or create the proposed new one. Check any required worksheet names and columns before reusing a workbook.
3
Check connections and Agents
Review Connectors and What’s inside. Connect and authorize the systems the App needs. If it includes Agents, a workspace admin must review their setup, Run As consent, and triggers.
4
Install and inspect
Choose Install, review the destination and resources in the installation flow, and complete setup. Open the resulting App and check its data, pages, and setup status before sharing it.
Some Apps can be installed before all connections are ready. Installation alone does not prove their data will load. An included Agent may also need setup before its triggers can run.
What the template uses
For example, Procurement & AP Dashboard reads live NetSuite queries. Procurement Workspace uses published Data Sources. AP Command Center reads cached files and a Task queue. NetSuite CSV Importer includes a Sheet and an Agent with file and Sheet triggers. These have different setup requirements despite all appearing under Apps.